
Reviewed · WORKSHOPS
Handcraft your own silver ring in Bruges
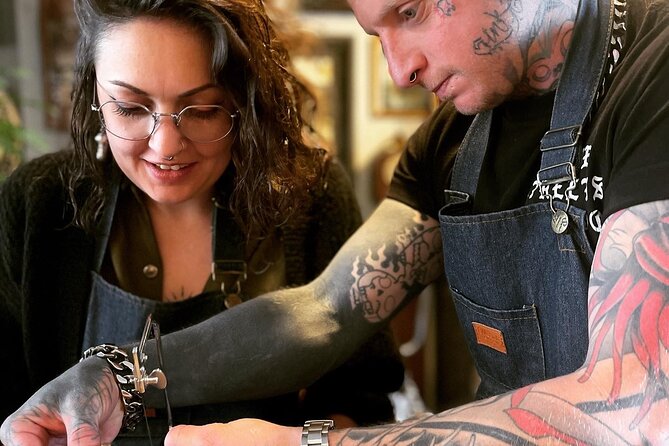
The best part of this Bruges workshop is that you do not simply pick out a souvenir. You make the souvenir yourself, starting with a strip of sterling silver and ending with a wearable ring. The small class keeps the pace friendly and gives your course leader time to help with tricky steps such as fit, shaping, and soldering.
I especially like the chance to stamp a name, date, or short phrase inside the band, and I like that you choose the final finish rather than accepting a fixed design. The main thing to consider is the price: at $210.84 per person, this is a major purchase for a two-and-a-half-hour activity, though the ring and hands-on instruction are included in the value.
Key points to know before booking
- You make the ring from raw silver: Measure, cut, shape, solder, and finish your own band rather than assembling a prepared souvenir.
- The class is capped at eight people: A small group means useful one-on-one help when fit or technique needs attention.
- Your inscription goes inside the ring: Add a date, name, or favorite short phrase for a private reminder of Bruges.
- You choose the final look: Finish the ring with a polished, satin, or rough forged style.
- The class lasts about two and a half hours: It is long enough for a real project, but easy to fit into a day in Bruges.
- Closed-toe shoes are required: Leave sandals and flip-flops at your accommodation.
Making a Bruges souvenir from a strip of silver
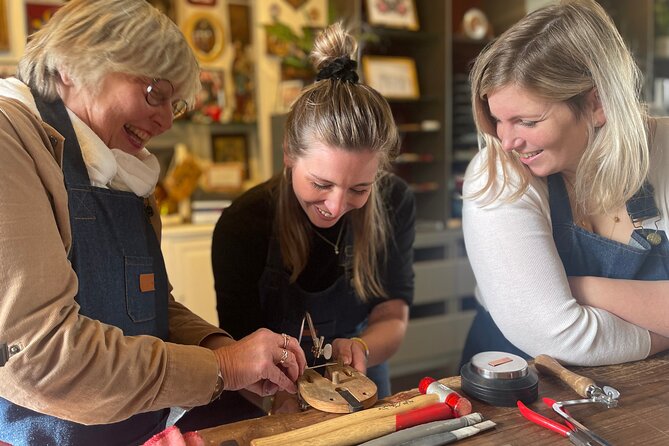
Many souvenirs show you where you have been. This one also shows what you did. Inside The Silver Hand workshop, you work through the full process of making a sterling silver ring, with the course leader guiding you through each stage.
That difference matters. You are not just adding a charm to a ready-made band or choosing a design from a display. You decide the shape, measure the silver, cut it, add markings, form the ring, and help finish it. The result may have small signs of the maker’s hand, and that is part of its appeal.
The workshop is in Bruges at Langestraat 50, 8000 Brugge. The activity begins and ends there, so you will not need to manage a second meeting point or arrange transport between stages. It is near public transportation, which helps if you are staying outside the old center.
The class is offered in English. The maximum group size is eight, a useful limit for an activity where everyone needs access to tools and occasional personal help. A class of four couples has taken part together, so the format can work for pairs, friends, and small family groups.
More Workshops in Bruges
- Bruges: Belgian Waffle-Making Workshop with Beer Tasting
★ 4.9 · 960 reviews - Belgian Chocolate Workshop in Bruges
★ 5.0 · 660 reviews - Bruges: Belgian Praline and Mendiants Chocolate Workshop
★ 4.7 · 620 reviews
Design first, then decide what you want to wear
The first stage is choosing the ring’s shape and style. This is where you set the direction of the piece. You might prefer a clean band, a more textured surface, or a rougher forged look. The available choices are part of the fun, but they also mean you should give yourself a moment to think before the tools come out.
You will also decide which finger the ring is for. Fit is not treated as a guess. The course leader helps you measure the finger and later refine the ring’s shape, which is important because the silver changes form during the process.
I like that the class allows the design to develop as you work. You do not need to arrive with a complete jewelry plan. You can make choices along the way, then adjust the shape and finish as the ring takes form.
Still, a personal workshop requires some patience. If you want a perfectly uniform, factory-made ring with no visible variation, a handmade class may not be the right match. The charm here is that the piece carries the marks of your decisions.
Measuring and cutting silver to fit
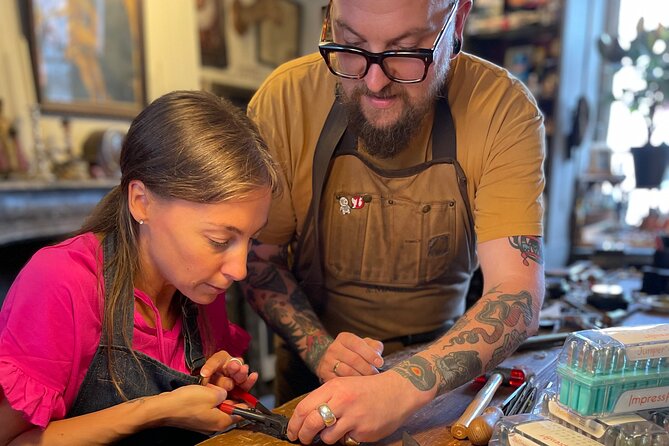
Once you have settled on the finger and general design, you measure and cut the silver. This turns the project from a design exercise into a physical one. The band must be long enough to wrap around the finger, with the ends ready to be joined later.
This step has a practical benefit: you gain a better sense of how a ring is made. A finished band can look simple, but its comfort depends on accurate measurement and careful shaping. The course leader helps you refine the size, so you are not left to solve the fit alone.
For couples, this part can be especially useful. You can make rings that relate to one another without making them identical. One person might choose a smoother finish, while the other adds a stronger texture or different markings.
The process is hands-on, but it is not described as a test of prior jewelry-making skill. Most people can take part, and children aged 10 and older may join at a parent’s discretion. Parents should think about their child’s ability to follow instructions and handle workshop tools before booking.
Add a private message inside the band
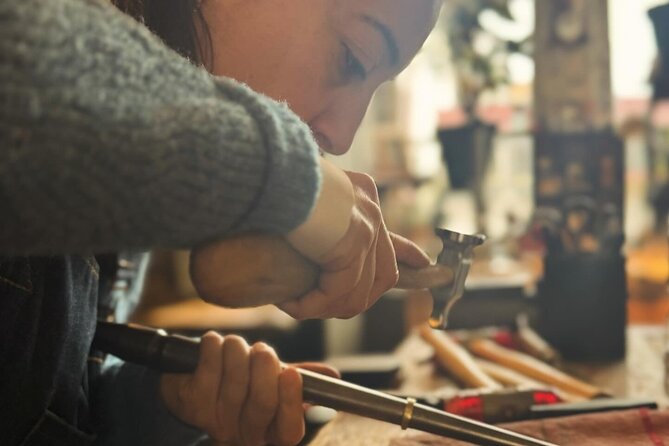
The stamping stage gives the ring its most personal feature. You can choose hand stamps to add a name, date, or favorite phrase on the inside. This keeps the message discreet. The outside can remain simple while the inside carries the memory.
A date could mark a birthday, anniversary, or the day of your Bruges visit. A name or short phrase can make the ring feel more like a personal token than a standard piece of jewelry. Since the message is hand stamped, do not expect machine-perfect lettering. Small variations are part of the handmade result.
Think about your wording before the class. The supplied information does not give a character limit, so the safest plan is to choose something short. A compact message is also easier to place neatly inside a narrow band.
This is one of the strongest reasons to choose the workshop instead of buying a silver ring in a shop. The finished piece is connected to a specific time, place, and decision you made.
More hands-on workshops in Bruges:
- The Waffles ‘n Beer Workshop in Bruges Centre
★ 5.0 · 429 reviews - Bruges: Chocolate Making Workshop and Chocolate Museum Entry
★ 4.6 · 395 reviews - Bruges: Belgian Chocolate Making Workshop with Beer Tasting
★ 4.9 · 203 reviews - Bruges: Chocolate Truffle Making Class
★ 4.6 · 149 reviews
Hammering, shaping, and forming the ring
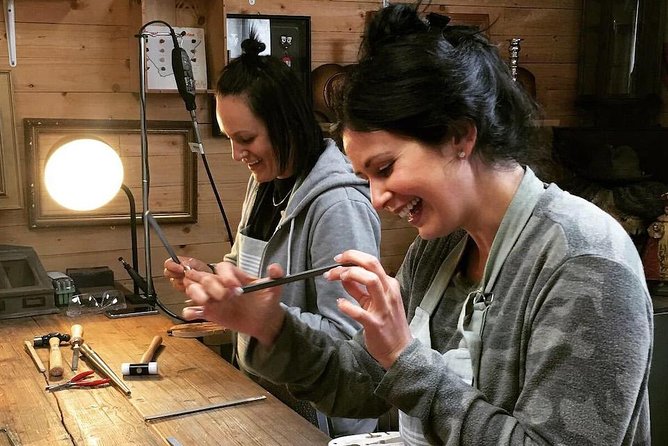
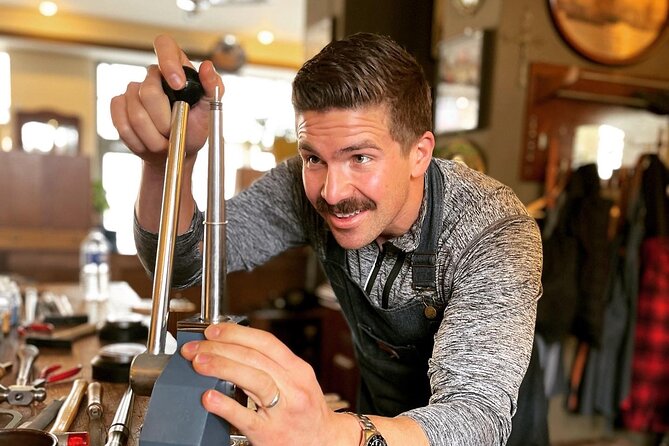
Next, you use mallets and a triblet to shape the silver. The band begins to curve, and you work toward a round form that can sit comfortably on your finger. This is the stage where the ring starts to look like a ring rather than a strip of metal.
The tools give the process a satisfying physical quality. You are not just watching a demonstration. You are using your hands, making small adjustments, and seeing the silver respond. The course leader remains available to help refine the shape and keep the fit on track.
Do not rush this part. The goal is not simply to close the strip into a circle. You also want a comfortable shape and a surface that suits your chosen style. A small-group setting is valuable here because the course leader can help when your ring needs a correction.
The activity has a clear limit of about two hours and 30 minutes. That is enough time for a full project, but it also means the class moves through several stages in one sitting. Pay attention to instructions and make design decisions without spending too long on one choice.
Soldering joins the ends
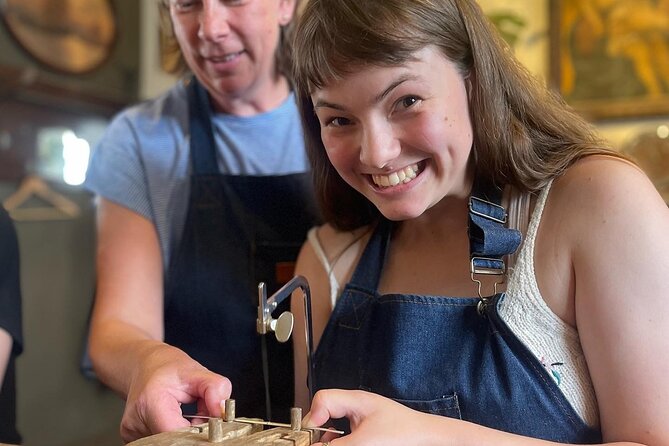
The course leader demonstrates how to heat and solder the silver, joining the two ends. This is the point where the separate ends become a closed band. Heating metal is a technical step, so the demonstration and direct guidance are important.
You take part in each step of the project, but the available details specifically describe the course leader demonstrating the heating and soldering. That makes sense for a workshop where safety and control matter. You still see how the ring is joined, while the instructor helps make sure the process is handled correctly.
After the join, the ring is checked for fit and its shape is refined. This is a welcome second chance to improve comfort. The ring does not have to remain exactly as it looked after the first round of hammering and shaping.
For a meaningful souvenir, this stage adds real value. You understand that the ring is not just decorative. It has been cut, formed, and joined into one piece through a series of deliberate steps.
Textures and marks make the band your own
Once the ring has its basic form, you can add textures or markings. This is where two rings made during the same class can end up looking quite different. One may have a smoother surface, while another may show more obvious hammer marks or a rough forged character.
The choice is yours, but it helps to think about how the ring will look as an everyday object. A simple finish may suit someone who wants a quiet reminder of Bruges. Stronger texture may appeal to someone who wants the handmade process to remain visible.
The class does not promise a single fixed style, and that is a strength. You can make the piece neat and understated or let it show more of the workshop’s work. The course leader can help you refine the shape, but the final character comes from your own choices.
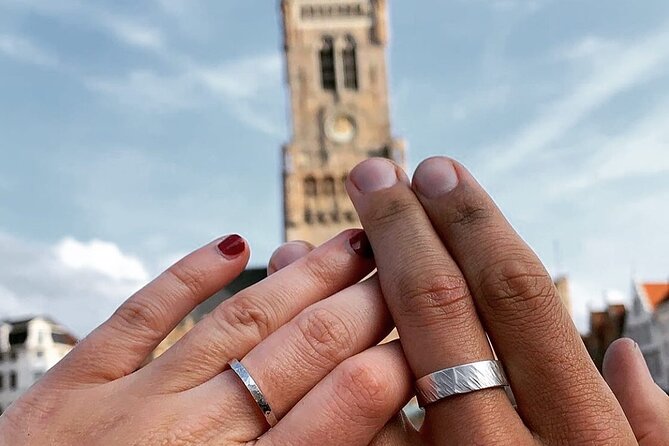
If you are making matching rings with a partner, you could use the same texture on both bands or choose different finishes while keeping a shared stamped date. The activity leaves room for that kind of personal connection.
Pick polished, satin, or rough forged
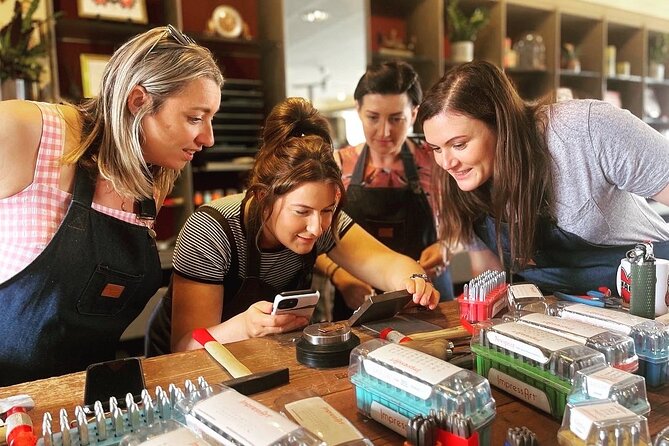
The final finish gives the ring its last visual change. You can choose a polished look, a satin finish, or a rough forged appearance.
A polished ring will have a cleaner, brighter feel. Satin should give you a softer, less reflective surface. The rough forged option keeps more of the handmade character visible. The right choice depends on your taste, and there is no need for every person in the class to choose the same result.
This selection also helps explain the price. You are paying for a guided making session and a sterling silver ring that you design and finish yourself, not simply for two-and-a-half hours of entertainment. The value is strongest if you care about the process and expect to wear or keep the ring for years.
At $210.84 per person, the workshop is not a low-cost activity. It makes the most sense for a special occasion, a couple seeking a shared project, or anyone who places a high value on a personal handmade keepsake. If you only want an inexpensive Bruges souvenir, you will find cheaper choices elsewhere.
What the small group changes
The maximum of eight people is one of the practical strengths of this class. Jewelry work has moments when you need an answer right away, especially while measuring, shaping, or deciding how to correct a form. A small class gives the course leader a better chance to stop, look, and help.
A group of four couples has taken part in the workshop, so the class can have a social side without becoming a large production. You can share the experience with a partner or meet other people who are interested in making things by hand.
That social element will not suit everyone equally. If you prefer complete privacy and quiet work, a group activity may feel less personal than a private appointment. If you like conversation and enjoy seeing how other people make different choices, the format should work well.
The class is offered in English, so you should be comfortable following spoken instructions in English. Service animals are allowed, and the workshop is animal friendly. The practical footwear rule is simple: wear closed-toe shoes, not sandals or flip-flops.
Timing, meeting point, and cancellation
The workshop takes about two hours and 30 minutes, and it ends back at Langestraat 50. Since there is no second drop-off point, you can plan the rest of your Bruges day around the same neighborhood.
The experience is suitable for most people, and it is near public transportation. Confirmation is provided when you book. The activity is commonly reserved well ahead of time, with an average lead time of 44 days, so an important date is worth planning early.
Free cancellation is available if you cancel at least 24 hours before the local start time. Changes or cancellations made less than 24 hours before the start are not accepted for a refund. That policy makes early planning useful, but it also means you should be sure of your schedule before the final day.
Who should book this Bruges workshop?
I would choose this for someone who wants a souvenir with a story attached to it. It suits couples, friends, families with older children, and anyone who enjoys practical creative work more than passive sightseeing.
It is also a good fit for a special trip. The private inscription can mark a date or shared phrase, and the ring gives you something useful to carry home rather than another decorative object that may sit on a shelf.
I would hesitate to recommend it to someone focused mainly on saving money, someone who dislikes making design choices, or someone who wants a flawless professional finish with no handmade variation. The class is priced as a guided craft experience and a sterling silver keepsake, not as a budget activity.
Should you book it?
Book this workshop if the idea of turning a strip of silver into your own ring sounds more appealing than simply shopping for one. You receive personal guidance, a small-group setting, several ways to customize the band, and a finished piece that can carry an inscription only you understand.
The price is high, but the activity covers the full process from design to final finish. For a special occasion or a meaningful Bruges memento, I think the hands-on value can justify it. Just wear closed-toe shoes, allow the full two-and-a-half hours, and choose your inscription before you arrive.
FAQ
Where does the silver ring workshop begin and end?
The workshop begins at Langestraat 50, 8000 Brugge, Belgium, and ends back at the same meeting point.
How long does the activity last?
The class lasts approximately two hours and 30 minutes.
What is included in the ring-making process?
You take part in designing, measuring, cutting, stamping, shaping, soldering, refining the fit, adding textures or markings, and choosing the final finish for your sterling silver ring.
Can I add a message to the ring?
Yes. You can use hand stamps to add a name, date, or favorite phrase inside the ring.
How many people can join the class?
The workshop has a maximum of eight participants.
What should I wear?
You must wear closed-toe shoes. Sandals and flip-flops are not permitted.
Just added around Bruges
- 2-Hour Private Walking Tour of Bruges★ 5.0 · 13 reviews
- Ticket Expo Body Worlds in Bruges, Belgium★ 4.5 · 11 reviews
- The Waffles ‘n Coffee Breakfast in Bruges Centre★ 4.5 · 9 reviews
- Discover the secrets of Bruges by playing!★ 4.5 · 7 reviews
- Explore the Instaworthy Spots of Bruges with a Local★ 5.0 · 3 reviews
- Australian Battlefields Private Tour in Flanders from Bruges★ 5.0 · 15 reviews
- 6 Hour Bruges Shore Excursion from Zeebrugge Cruise Port★ 4.5 · 23 reviews
- Photo Tour “Jan van Eyck”★ 4.0 · 7 reviews
Workshops, compared.
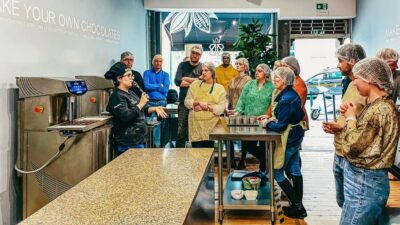
Belgian Chocolate Making Workshop with Tastings
Read our review →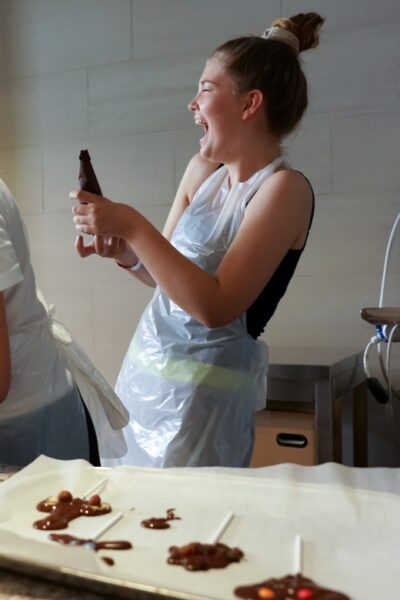
2.5-Hour Chocolate Museum Visit with Workshop
Read our review →
Belgian Waffle-Making Workshop with Beer Tasting
Read our review →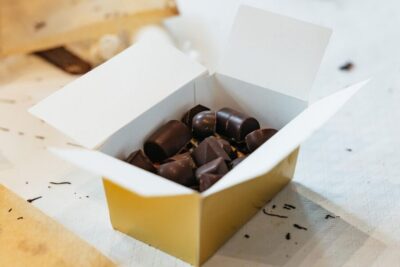

Belgian Praline and Mendiants Chocolate Workshop
Read our review →
Browse the lists this tour appears in